
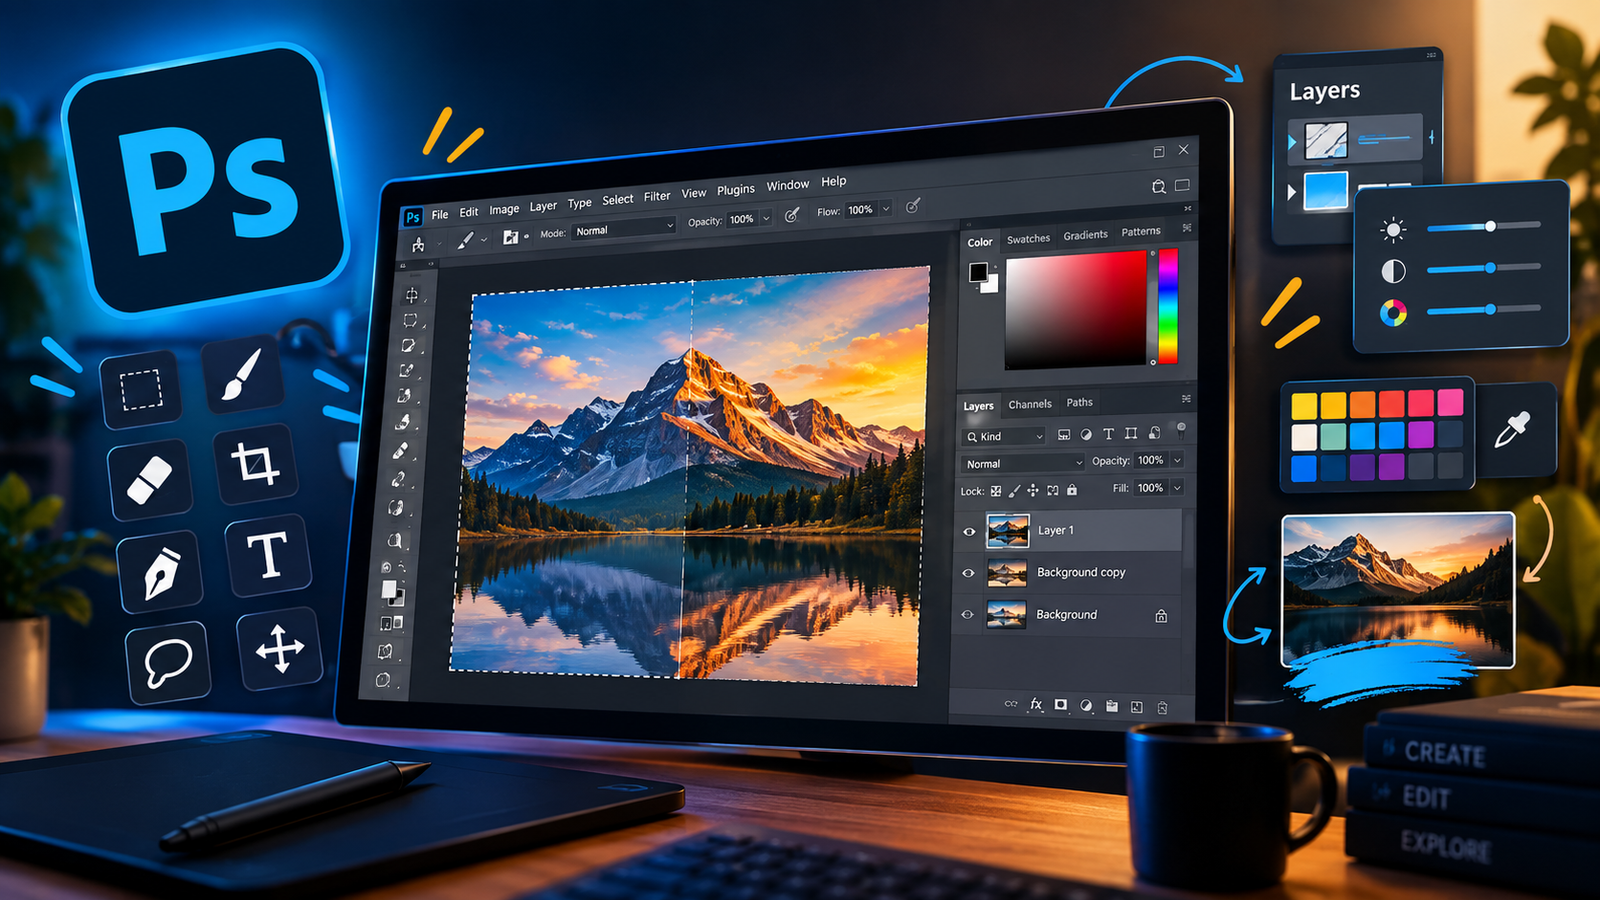
Adobe Photoshop can feel complicated when you first start using it because the software contains a large number of tools, settings, and editing options. Many of these features are designed for specific situations, so knowing what each one actually does is more useful than simply memorizing the toolbar. Once you understand the purpose of the basic tools, tasks such as removing backgrounds, reshaping images, adjusting layouts, and preparing graphics become much easier.
1. Making Quick and Accurate Selections
The Magic Wand tool in Photoshop is one of the easiest ways to select an area when the colors in an image are clearly separated. Instead of manually drawing around an object, the tool looks at the color of the area you click and selects pixels with similar tones. You can control how broad the selection becomes by changing the tolerance value. A lower tolerance is useful when you want to select a narrow range of colors, while a higher setting can include more variation.
This tool can be particularly useful when working with simple backgrounds, icons, product images, or graphics with large areas of consistent color. However, it is not always the right choice for complicated subjects. Objects with shadows, gradients, hair, or many similar colors may require other selection methods. You can also combine the Magic Wand with other Photoshop selection tools to clean up the edges and achieve a more accurate result.
2. Controlling the Shape of an Image
Photoshop also includes features that allow you to make controlled changes to the shape of objects and photographs. The Liquify tool in Photoshop is designed for this type of editing and gives you the ability to push, pull, expand, or reduce specific areas of an image. Because the changes can be localized, you do not necessarily have to alter the entire picture to fix a small problem.
Liquify can be useful for correcting minor distortions, improving the appearance of certain shapes, or creating artistic effects. However, subtle editing usually produces more convincing results than aggressive adjustments. If you push an area too far, nearby lines, clothing patterns, backgrounds, or body proportions can also become distorted. Working on a duplicate layer before making major changes gives you an easy way to compare the edited version with the original.
3. Keeping Your Original Artwork Flexible
A Smart Object is another feature that becomes increasingly useful as your Photoshop projects become more complex. When you convert a layer into a Smart Object in Photoshop, the original content is preserved inside the layer. This gives you more flexibility when transforming or resizing the element because you are not simply destroying the original pixels every time you make a change.
This is especially helpful when working with logos, product images, mockups, illustrations, and reusable design elements. For example, you might resize the same product image several times while creating different layouts. With a Smart Object, you can make those changes while keeping the source content available. Smart Objects can also work with certain filters in a more flexible way, allowing you to return and modify settings instead of permanently applying every adjustment.
4. Creating More Space Around Your Design
Sometimes the artwork itself is fine, but there is not enough space around it for the final design. In that situation, understanding how to change the canvas size in Photoshop can be very useful. The Canvas Size option changes the overall working area around your existing artwork rather than simply scaling the artwork itself.
This difference is important because canvas size and image size are not the same thing. Increasing the image dimensions can scale the contents, while increasing the canvas can give the existing design additional space around it. This can be useful when creating social media posts, adding borders, preparing banners, changing compositions, or leaving room for text and other design elements.
You can also choose where the additional canvas space should appear by using the anchor controls. For example, if you want extra space only above an existing design, you can position the artwork toward the bottom before increasing the canvas. This gives you much more control over the final composition without having to rebuild the entire project.
5. Understanding Older Photoshop Versions
Some users still search for a Photoshop CS2 update because they have an older installation or are trying to work with a computer that cannot comfortably run newer versions. CS2 is a legacy release, so its features and compatibility are significantly different from modern Photoshop versions. People using older software should also be careful when searching for installers or update files on unfamiliar websites.
Unofficial software packages can contain modified files or unwanted programs, which can create unnecessary security problems. If you need information about an older Adobe product, it is better to check Adobe’s official support and documentation resources rather than downloading files from random websites. Older software may also have limitations when opening newer file formats or working with modern operating systems.
6. Combining Different Features in One Workflow
The real benefit of learning Photoshop comes from understanding how different tools can work together. A single project may require several features rather than one specific tool. For example, you could increase the canvas to create additional design space, import an image as a Smart Object, use a quick selection method to isolate part of the image, and then make a small adjustment with Liquify.
This type of workflow is more practical than trying to learn every Photoshop feature separately. Each tool solves a different problem, and knowing when to switch between them can make editing considerably faster. It also reduces the need to repeat work because you can choose the appropriate feature instead of trying to force one tool to handle every task.
7. Building a Safer Editing Workflow
One of the most useful habits for Photoshop users is learning to work non-destructively. Instead of immediately changing the original layer, keep a backup or duplicate and make major edits on a separate layer whenever possible. Smart Objects, layer masks, adjustment layers, and editable project files can all help you maintain control over your work.
This approach is particularly valuable when working on professional designs because clients or projects may require changes later. If the original artwork is preserved, you can return to an earlier stage without starting everything again. Beginners can also benefit from this method because mistakes become easier to fix and experimenting with new techniques feels much less risky.
8. Learning Photoshop Through Practical Use
You do not need to master every Photoshop tool before you can create useful designs. Start by understanding the features that match the type of work you regularly do. Once you become comfortable with selections, transformations, canvas adjustments, and non-destructive editing, more advanced features become easier to understand.
The goal should not be to memorize every button in Photoshop. Instead, focus on understanding what problem a feature solves, what limitations it has, and how it can be combined with other tools. That practical knowledge will make your editing process faster and help you produce cleaner, more controlled results over time.
Frequently Asked Questions
1. Can Photoshop editing be done without changing the original image?
Yes. Photoshop provides several non-destructive editing methods that let you keep the original artwork safe. Using duplicate layers, masks, adjustment layers, and editable project files makes it easier to undo changes or return to an earlier version.
2. Why does a selection sometimes include unwanted areas?
This usually happens when nearby areas have colors similar to the part you are trying to select. Adjusting the tolerance or refining the selection manually can improve the result. Images with shadows, gradients, and complex edges generally need more careful selection work.
3. What should you do before making major changes to a photo?
It is a good idea to create a duplicate of the original layer first. This gives you a backup and lets you compare the edited version with the original. For more advanced projects, keeping an editable project file is also useful.
4. Does changing the workspace area automatically resize the artwork?
No. The workspace area and the artwork have different dimensions. Increasing the available area can give you more room around the existing design without automatically scaling the elements already placed inside it.
5. Why can strong image reshaping make a design look unnatural?
Large adjustments can affect nearby objects, straight lines, patterns, and proportions. Even if the main edited area looks correct, surrounding details may reveal that the image has been heavily modified. Smaller adjustments usually produce a more natural result.